Follow Me On Social Media!
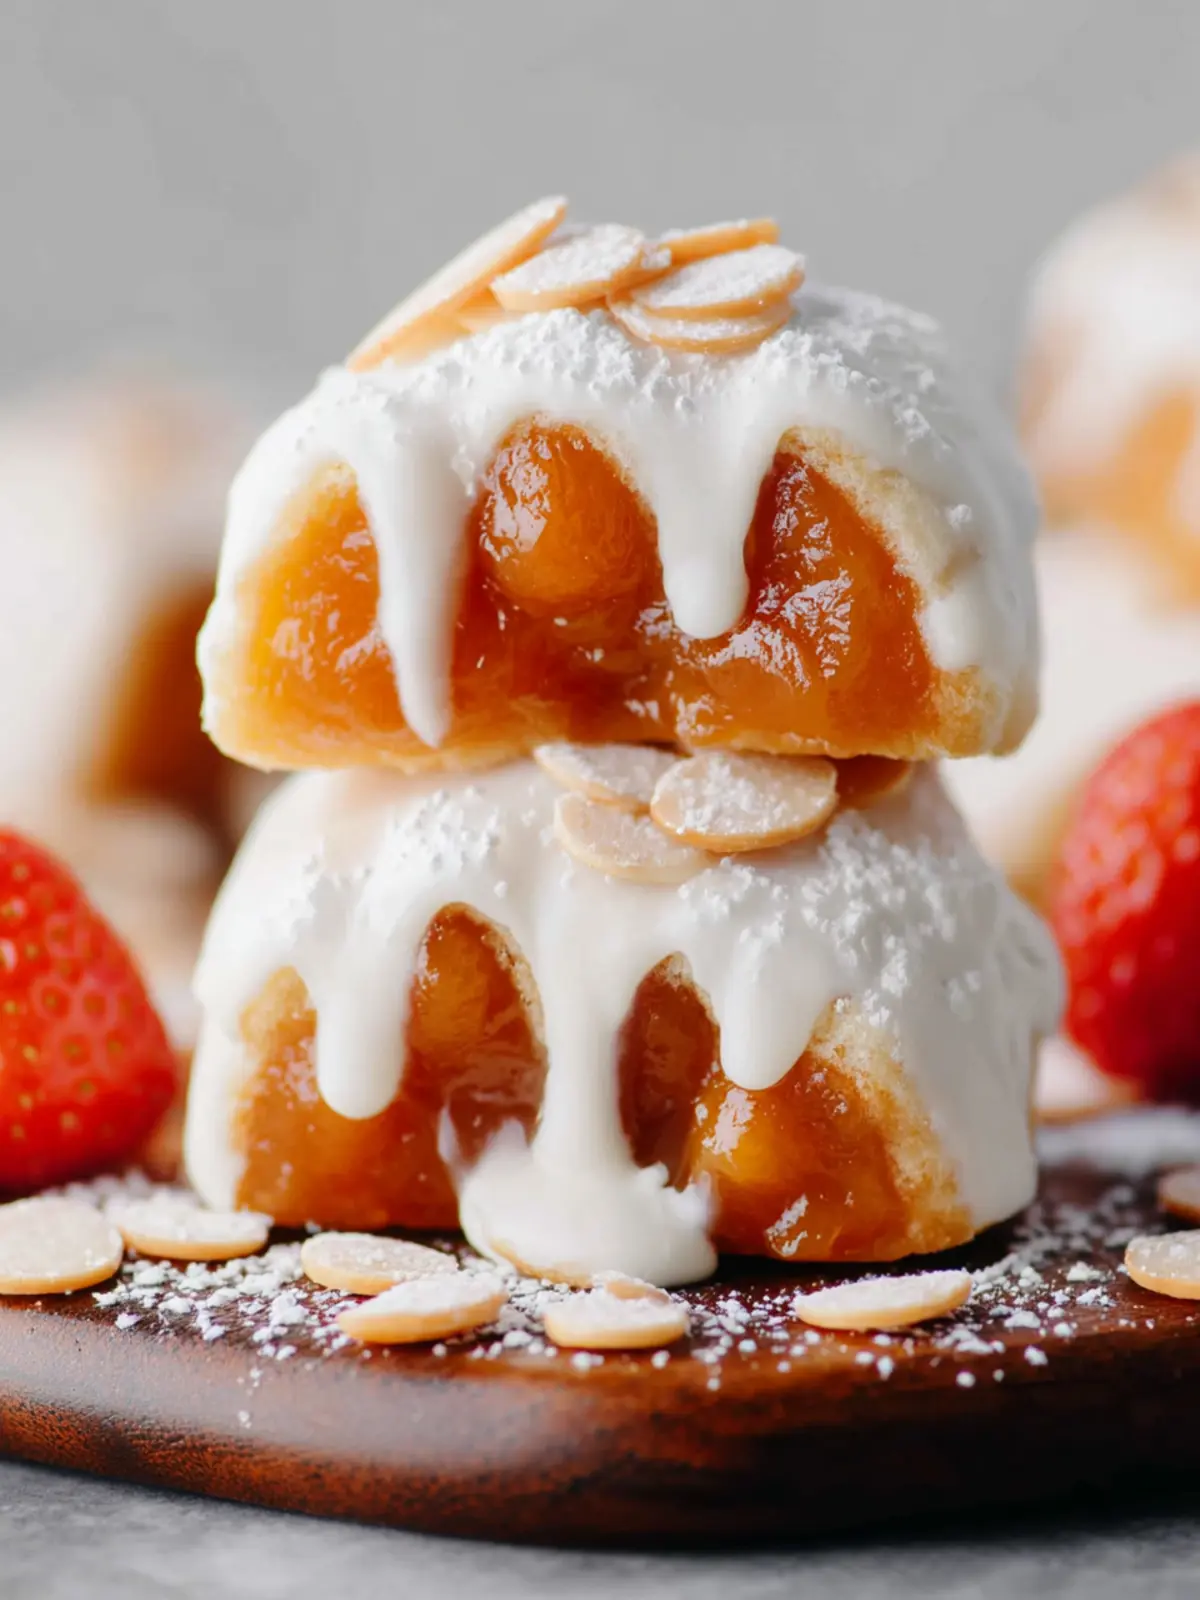
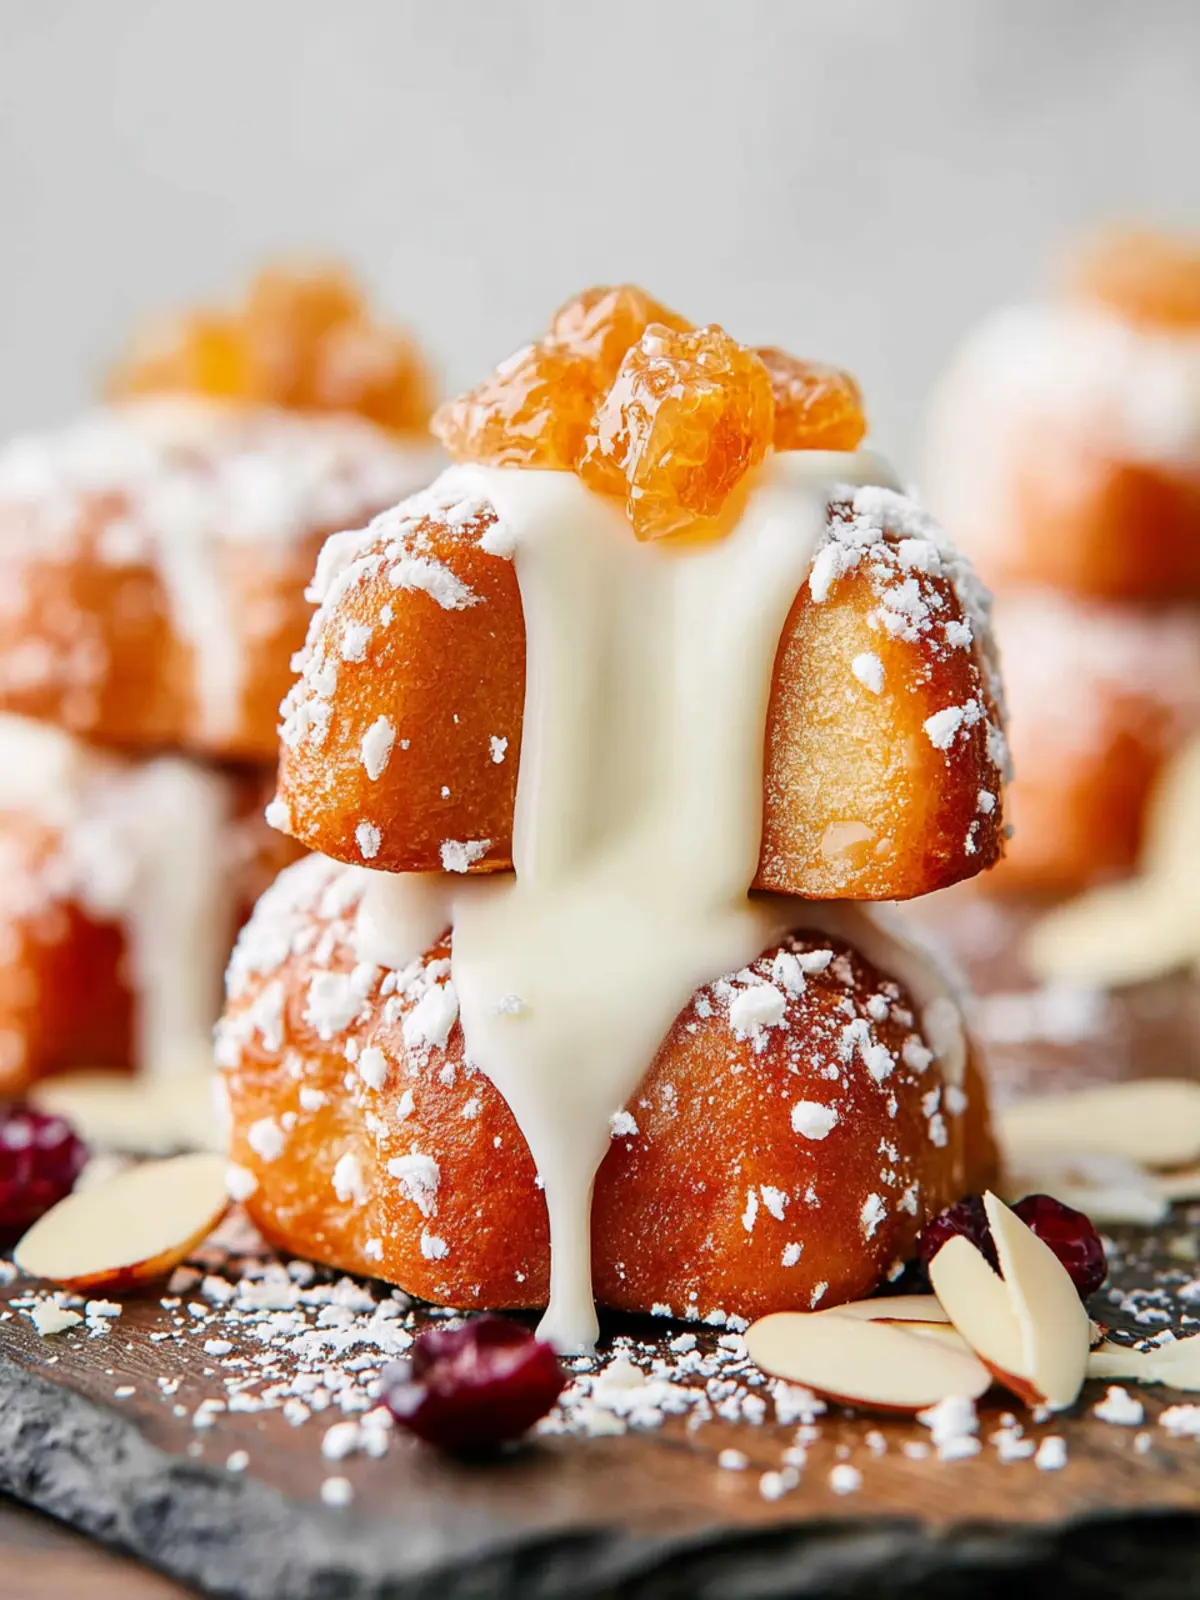
Polar Bear Paws: Irresistibly Creamy and Easy to Make!
Introduction to Polar Bear Paws
There’s something magical about polar bear paws that instantly transports you to a cozy kitchen filled with warmth and delectable scents. Picture the joy on friends’ faces when you unveil a platter of these delicious treats at your next gathering. It’s not just a dessert; it’s a sweet experience brimming with nostalgia and delight.
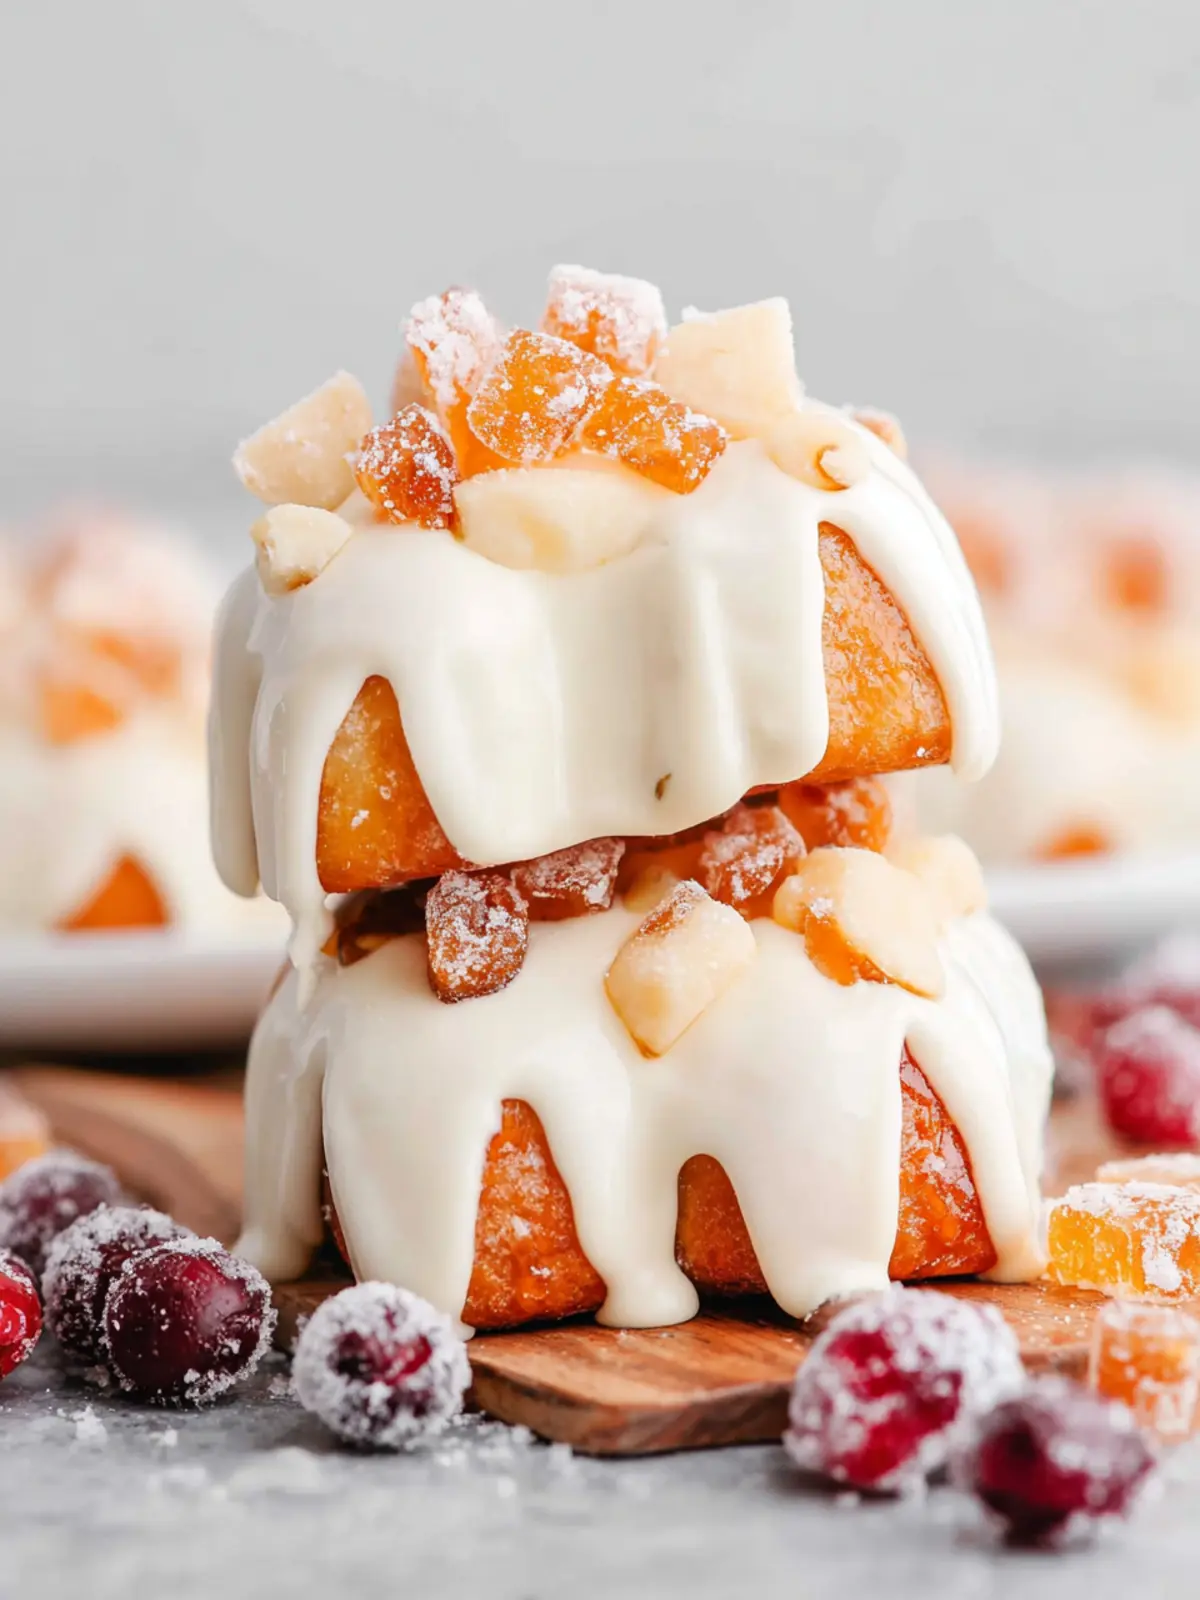
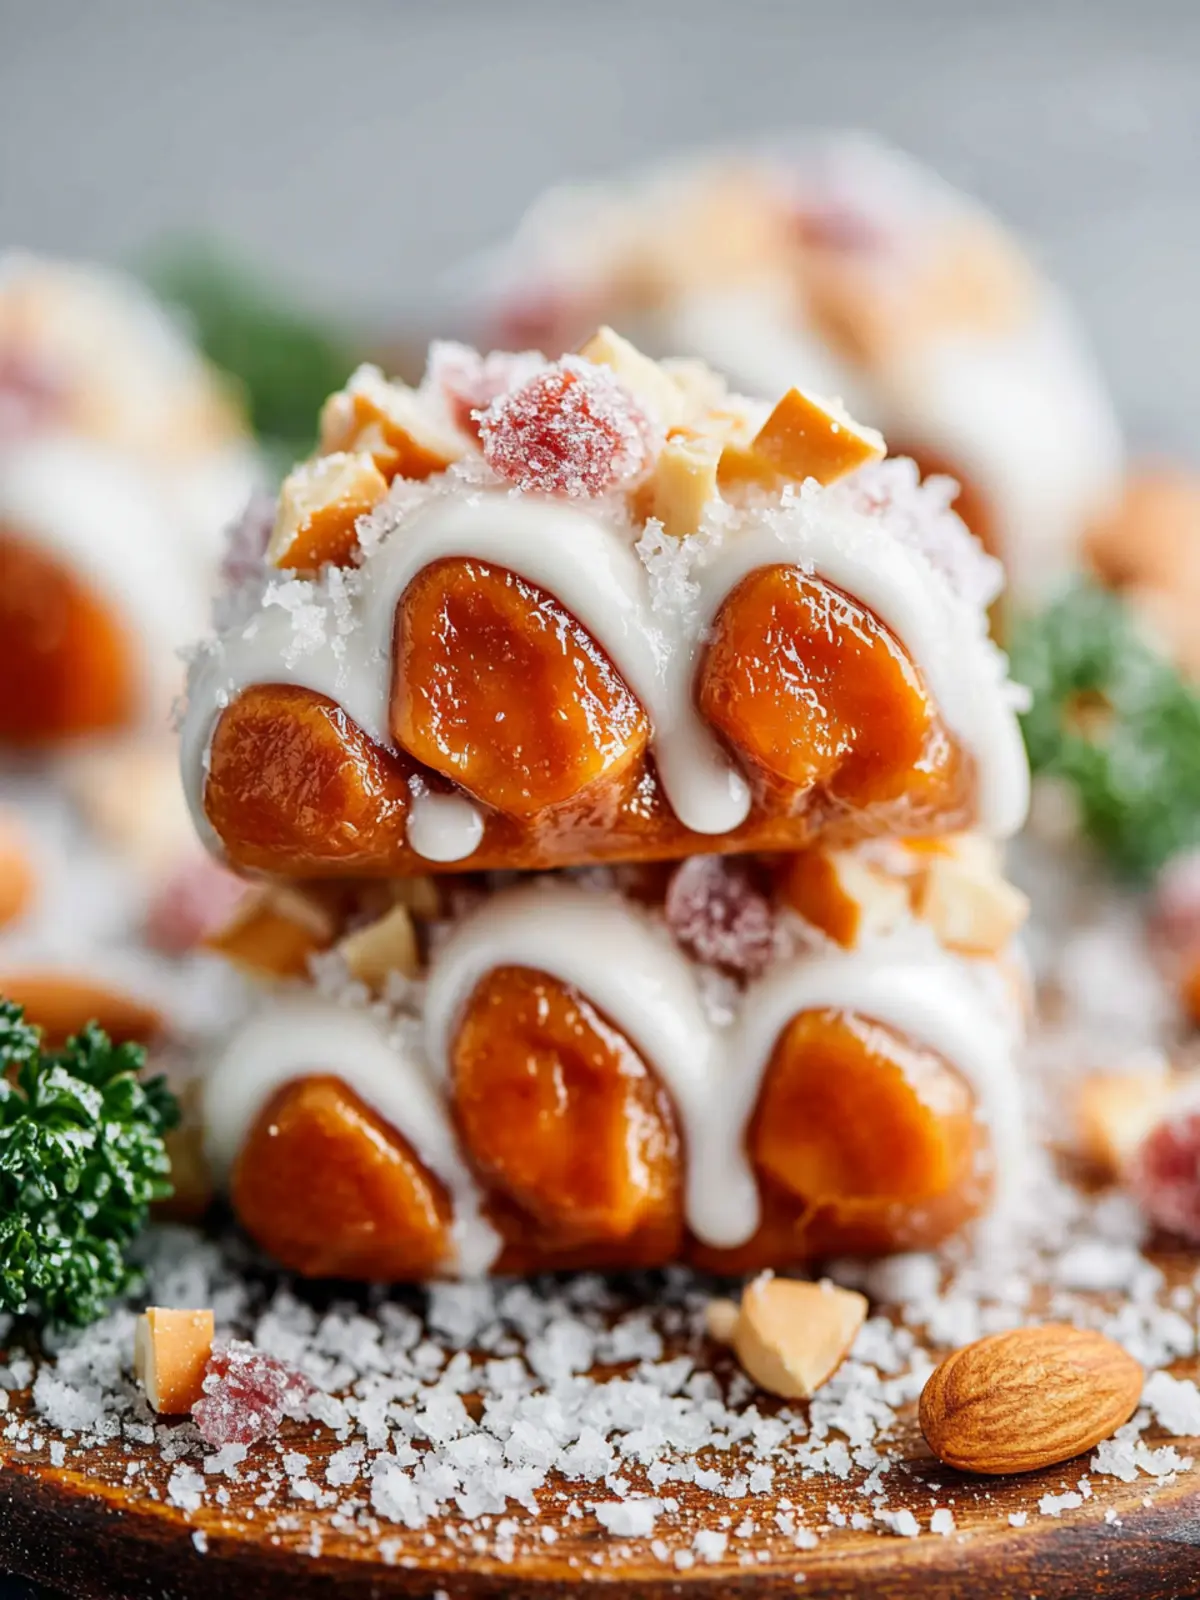
These delightful snacks are often made up of a perfect combination of ingredients that come together to create a chocolatey, nutty, and chewy treat, reminiscent of those times we spent rummaging through our childhood treat drawers. The recipe brings back memories of chilly winter evenings spent indulging in something sweet and comforting.
What makes Polar Bear Paws a delightful treat?
One of the key reasons polar bear paws stand out is their irresistible flavor profile. A balance of creamy peanut butter, rich chocolate, and crunchy ingredients creates a texture that is simply addictive. It’s hard to resist dipping your hand into the bowl for just “one more” paw!
-
Flavor Fusion: The combination of peanut butter and chocolate is, without a doubt, a match made in heaven. That creamy and slightly salty peanut butter complements the sweetness of the chocolate perfectly.
-
Texture: Imagine biting into a soft yet slightly chewy exterior, revealing a crunchy surprise inside. This delightful contrast keeps every bite exciting.
-
Versatility: While traditional recipes are amazing, there’s room for creativity. You can add fun extras like sprinkles, marshmallows, or even a hint of sea salt on top for that perfect touch of gourmet flair.
-
Memories and Sharing: Whether it’s a holiday gathering or just a casual night in, polar bear paws are perfect for sharing. They not only serve as a sweet treat but also as a conversation starter and a way to create bonds over delicious food.
In the upcoming sections, we’ll dive deeper into how to craft these delightful treats. Prepare yourself for a favorite recipe that’s sure to create new sweet memories in your kitchen!
Key Ingredients for Polar Bear Paws
Creating Polar Bear Paws is a delightful experience that combines comforting flavors with a touch of whimsy. The key ingredients are straightforward yet essential for achieving that delightful balance of taste and texture.
Chocolate Chips
The heart of any Polar Bear Paws is the rich, decadent chocolate chips. I prefer using semi-sweet chocolate chips for a perfect balance of sweetness and richness, but you can also mix in some white chocolate chips if you want an extra creamy finish.
Peanut Butter
Creamy peanut butter adds a nutty depth that pairs perfectly with the sweetness of the chocolate. For the best results, choose a natural peanut butter that’s smooth and free from added sugars. Trust me, it makes a significant difference in flavor.
Graham Cracker Crumbs
These crumbs serve as the base for our paws, contributing a subtle crunch and a hint of sweetness. I like to crush them finely for an even consistency, but if you prefer a little texture, leave some slightly larger pieces.
Marshmallows
Mini marshmallows add that beautiful chewy factor. They create a lovely contrast with the chocolate and peanut butter, making every bite a delightful experience.
Butter
Using unsalted butter ensures that you have complete control over the saltiness of your Polar Bear Paws. I melt it to combine it seamlessly with the other ingredients, helping to bind everything together.
Incorporating these key ingredients will help you craft irresistible Polar Bear Paws that friends and family will adore. Happy baking!
Why You’ll Love This Recipe
The perfect treat for any occasion
Ever since I first tasted polar bear paws, I knew this delightful treat would become a staple in my kitchen. It’s not just the creamy chocolate-covered exterior that lures you in; it’s the luscious, nutty filling that keeps you coming back for more. You might be surprised, but this recipe is incredibly easy to whip up, making it perfect for surprising your friends at gatherings or brightening up a dull workweek.
Whether it’s a cozy movie night at home or a festive potluck, polar bear paws are sure to impress. Everyone will marvel at the unique combination of textures and flavors. Plus, you can customize them—try using different types of nuts or even a mix of chocolate to suit your taste.
What truly makes this recipe special is its versatility. Need a last-minute gift? These make for a thoughtful, homemade present. Want to treat yourself? Perfectly valid choice! Each bite brings a nostalgic joy, reminiscent of childhood treats but with a grown-up, delicious twist. So what are you waiting for? Dive into this recipe and discover why polar bear paws will become your new favorite indulgence!
Cooking Tips and Notes
How to make your Polar Bear Paws a success
Creating Polar Bear Paws is an adventure that combines delightful flavors and fun shapes, making it a perfect treat for gatherings. To elevate your experience, here are some friendly tips to ensure your dessert shines.
-
Choose Quality Chocolate: Using high-quality chocolate for your Polar Bear Paws makes a world of difference. Look for chocolate with at least 60% cocoa for a rich taste that complements the sweetness of the other ingredients.
-
Manage Melting: When melting chocolate, use a double boiler or microwave it in short bursts. This prevents overheating, which can lead to a gritty texture. Stir frequently to achieve a smooth consistency.
-
Perfecting Texture: If your mixture feels too sticky, a bit of powdered sugar can provide the right balance. Just add a tablespoon at a time until you achieve the perfect consistency for shaping.
-
Chill and Set: Allow each layer of your Polar Bear Paws to chill properly before adding the next. This helps maintain distinct layers and gives the dessert a nice firm texture.
-
Decorate Creatively: Get creative with toppings! Feel free to mix and match nuts or sprinkles to make your Polar Bear Paws uniquely yours.
By considering these tips, you’ll not only enhance your skills but also impress your friends with your deliciously crafted Polar Bear Paws. Happy baking!
Time Breakdown for Polar Bear Paws
To create those delightful polar bear paws, it’s essential to plan your time well. Here’s how it breaks down:
Preparation Time
Preparing the ingredients for your polar bear paws takes about 15 minutes. Make sure to set out everything you need in advance for a smooth cooking process.
Chilling Time
Once you shape the paws, letting them chill in the refrigerator for 30 minutes ensures they firm up nicely. This step is crucial for that perfect texture!
Total Time
In total, you’ll be investing about 45 minutes from start to finish. It’s a short amount of time for such an adorable treat that’s sure to impress friends and family!
Nutritional Facts for Polar Bear Paws
When indulging in Polar Bear Paws, you might wonder what you’re putting into your body. These delightful treats are not just cute; they’re also packed with character and flavor. Let’s break down the nutritional benefits you can expect from these unique snacks.
Calories
Each serving of these polar bear paws comes in at around 150 calories. This makes them a perfect option for a sweet treat without completely derailing your daily calorie intake. Enjoying one or two is a guilt-free snack that satisfies your sweet tooth.
Sugar
These polar bear paws contain approximately 12 grams of sugar per serving. While caramel and chocolate provide sweetness, you can always adjust the sugar content to tailor it to your preference, making them a versatile dessert for various diets.
Protein
You’ll also find about 3 grams of protein in each serving of these treats. This modest amount allows you to feel a bit fuller while enjoying a sweet dessert. Don’t forget, you can enhance the protein content by adding some nuts or nut butter as well!
In summary, polar bear paws blend fun and flavor with just the right nutritional balance, making them a delightful addition to any celebration.
FAQs about Polar Bear Paws
The joy of creating Polar Bear Paws is not just in the delicious flavors, but also in the little details that make the recipe uniquely yours. Here are some common questions that might help you on your baking adventure.
Can I use different types of nuts?
Absolutely! While the recipe specifies certain nuts, feel free to experiment. Polar Bear Paws are quite forgiving, allowing for a delightful crunch from your favorite nuts. Almonds, pecans, or walnuts can easily replace or complement the suggested options. Just chop them finely to ensure an even distribution throughout your treats.
How should I store Polar Bear Paws?
To keep your Polar Bear Paws fresh and delicious, store them in an airtight container. They can be kept at room temperature for up to a week. If you want to enjoy them for longer, consider freezing them. Just layer them between parchment paper in a freezer-safe container, and they’ll last for about three months. Simply let them thaw at room temperature when you’re ready to dive back in!
What can I substitute for white chocolate chips?
If you prefer not to use white chocolate chips, there are several enjoyable alternatives. You might try dark or milk chocolate chips for a richer taste, or even butterscotch chips for a different flavor profile. If avoiding chocolate altogether, consider substituting with dried fruits like cranberries or raisins, which will add a sweet tang that pairs wonderfully with the nuttiness in your Polar Bear Paws.
With these tips in mind, your baking experience should be as delightful as the end result! Enjoy creating your own version of Polar Bear Paws.
Conclusion on Polar Bear Paws
Creating polar bear paws is not just about enjoying delicious treats; it’s a journey filled with warmth and nostalgia. These delightful confections bring back memories of cozy winter nights spent indulging in desserts that satisfy the soul. It’s incredible how simple ingredients can transform into a beloved snack that bridges generations. As you make your own batch, remember that the joy of baking is not just in the final product but in sharing these moments with friends and family. Embrace the spirit of these cuddly creations, and let every bite remind you of the warmth and love a homemade treat can bring.
Print
Honey Roasted Peanut Caramel Clusters
- Total Time: 1 hour
- Yield: 12 clusters 1x
- Diet: Gluten-Free
Description
These honey roasted peanut caramel clusters are a delightful treat, combining rich caramel and white chocolate with crunchy peanuts.
Ingredients
Scale
- 5 ounces soft Werther’s caramels (unwrapped, (22 caramels))
- 1 tablespoon heavy cream
- 1 cup honey roasted peanuts
- 1 cup white chocolate chips
- 1.5 teaspoons coconut oil
- Flaky sea salt (optional, for topping)
Instructions
- Line a large sheet pan with parchment paper and set aside.
- Add the caramels and heavy cream to a small pot set over the lowest heat. Stir constantly until completely melted. Be patient and don’t raise the heat or the caramel can turn hard or grainy.
- Remove from heat and stir in the peanuts until fully coated.
- Spoon tablespoon-sized mounds onto the prepared cookie sheet. Very lightly spray your fingers with cooking spray. Press and gently shape into small clusters. Chill in the fridge for about 30 minutes or until set.
- Add white chocolate chips and coconut oil to a small microwave-safe bowl. Microwave in 20 second bursts, stirring well for a full 20 seconds between each interval, until smooth and fully melted. Do not overheat.
- Working with one chilled caramel cluster at a time (keep the rest in the fridge), dip into the melted chocolate. Lift with a fork, tap the fork on the edge of the bowl to remove extra chocolate, then place the coated cluster back on the parchment. Repeat with all clusters. If desired, add a tiny sprinkle of sea salt on top.
- Place the pan back in the fridge for 30 to 60 minutes or until the chocolate is fully set. Enjoy or package for gifting!
Notes
- Note 1: You can find soft Werther’s caramels in most grocery stores.
- Note 2: Ensure the peanuts are honey roasted for added flavor.
- Note 3: You may substitute white chocolate chips with milk chocolate if preferred.
- Prep Time: 15 minutes
- Cook Time: 15 minutes
- Category: Dessert
- Method: Stovetop and Microwave
- Cuisine: American
Nutrition
- Serving Size: 1 cluster
- Calories: 150
- Sugar: 13g
- Sodium: 50mg
- Fat: 7g
- Saturated Fat: 4g
- Unsaturated Fat: 2g
- Trans Fat: 0g
- Carbohydrates: 18g
- Fiber: 1g
- Protein: 2g
- Cholesterol: 5mg