Follow Me On Social Media!
Rice Krispie Treats Recipe: The Best Gooey Delight Ever
Introduction to Rice Krispie Treats Recipe
As you step into the kitchen, you might find yourself instantly whisked back to your childhood with the delightful crunch and gooey sweetness of a Rice Krispie treats recipe. These no-bake delicacies have been a staple for countless family gatherings, school lunches, and after-school snacks. It’s hard not to feel nostalgic about the ease of preparation and the joy of sharing them with loved ones.
The magic begins with just three primary ingredients: Rice Krispies cereal, marshmallows, and butter. But what makes this treat truly special isn’t just the combination of flavors and textures—it’s the memories they create and the smiles they bring. From lively birthday parties to cozy afternoons spent with a book, these treats often accompany significant moments in our lives.
A Sweet Trip Down Memory Lane
Picture this: it’s a Friday night, and your family is gathered in the kitchen. The air fills with laughter and the comforting aroma of melting butter and marshmallows. You can’t help but sneak a spoonful from the pot—heady with sweet gooeyness—before realizing that you need to wait for the mixture to cool slightly before mixing in the crispy rice cereal.
Making Rice Krispie treats together can become a beloved tradition that fosters creativity. You can experiment with add-ons like chocolate chips, sprinkles, or even a swirl of peanut butter for a twist. These treats are versatile enough to adapt to seasonal celebrations or themed parties, turning them into festive and fun goodies that anyone can enjoy.
Whether you’re revisiting a family classic or making your first batch as an adult, the process is simple yet endlessly rewarding. You get to enjoy the hands-on experience, creating a little slice of happiness that’s both delicious and nostalgic. So grab your marshmallows and prepare for a delightful kitchen adventure as we dive deeper into the classic rice krispie treats recipe that will surely become a favorite in your household!
Key Ingredients for Rice Krispie Treats Recipe
When it comes to creating those delightfully chewy Rice Krispie treats, every ingredient plays a crucial role in bringing the classic flavors and textures to life. Let’s dive into the essentials you’ll need.
-
Rice Krispies Cereal: The star of the show! This crispy cereal not only adds that iconic crunch but also provides a neutral base that allows the other ingredients to shine. Ensure it’s fresh for the best results.
-
Marshmallows: I recommend using mini marshmallows for a quicker melt, creating a perfectly gooey texture. If you’re feeling adventurous, try using flavored marshmallows for a unique twist on this classic treat!
-
Butter: This isn’t just for greasing the pan; it blends with the marshmallows to create that irresistible, sweet, and buttery flavor we all love. Make sure to melt it gently to avoid burning.
-
Salt: Just a pinch goes a long way in balancing the sweetness of the marshmallows. It helps to elevate the overall flavor profile of your Rice Krispie treats.
With these key ingredients, you’re well on your way to making a batch of delicious Rice Krispie treats that will evoke nostalgic memories for everyone who enjoys them. Happy cooking!
Why You’ll Love This Rice Krispie Treats Recipe
Rice Krispie treats have a special place in our hearts—and for good reason. This Rice Krispie treats recipe is a nostalgic nod to simpler times, when baking meant using just a few simple ingredients to create something truly magical. Picture this: the sun is shining, laughter fills the air, and your friends can’t resist the sweet, gooey goodness coming from your kitchen. As you pull out a batch of these chewy, buttery delights, smiles abound.
Perfect for any occasion
What makes this Rice Krispie treats recipe so special is its versatility. Whether you’re planning a birthday party, a cozy movie night, or an impromptu picnic, these treats fit right in. They’re incredibly easy to whip up—perfect for those weeks when you’re juggling deadlines and social plans. Plus, who doesn’t enjoy a classic dessert that takes mere minutes to make?
- Kids and adults alike will love getting their hands sticky while creating fun shapes or adding colorful sprinkles for that extra flair.
- Perfect as a last-minute gift or treat to share at the office, these treats are sure to impress.
With this recipe, every bite evokes a sense of warmth and joy. It’s not just about the treats; it’s about the memories we create while enjoying them.
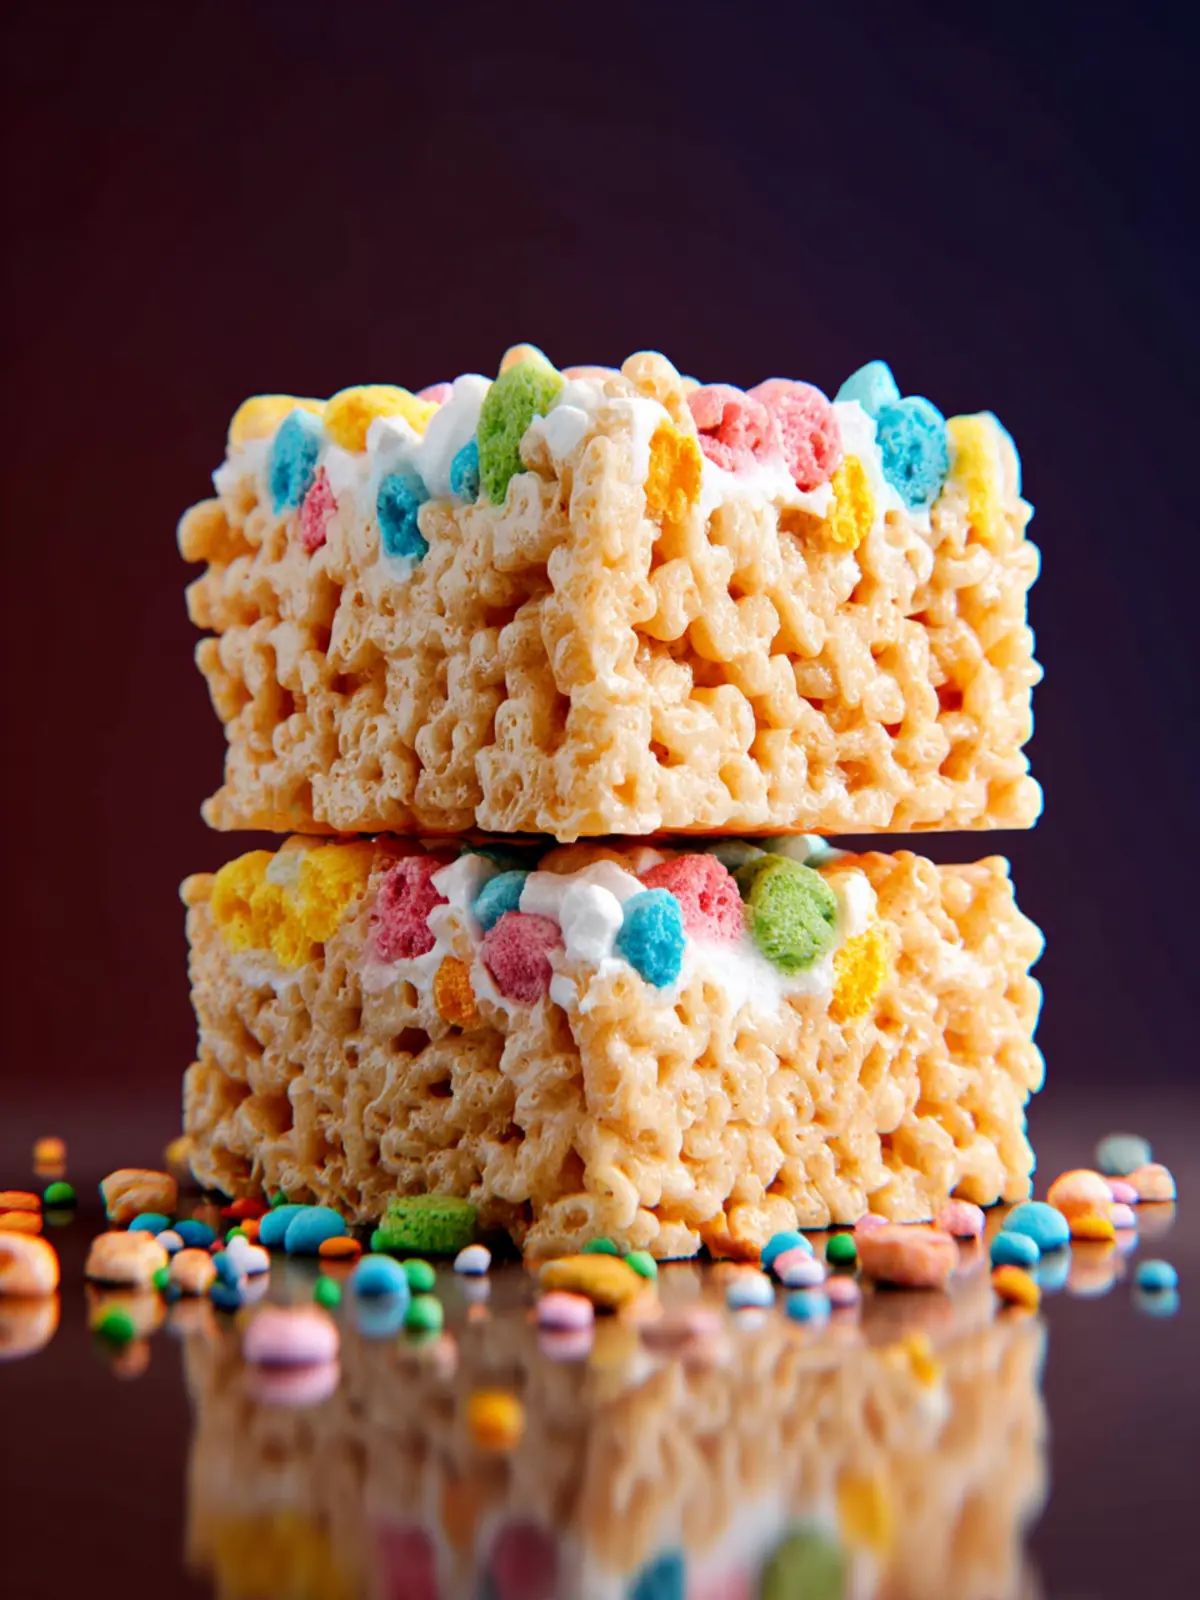
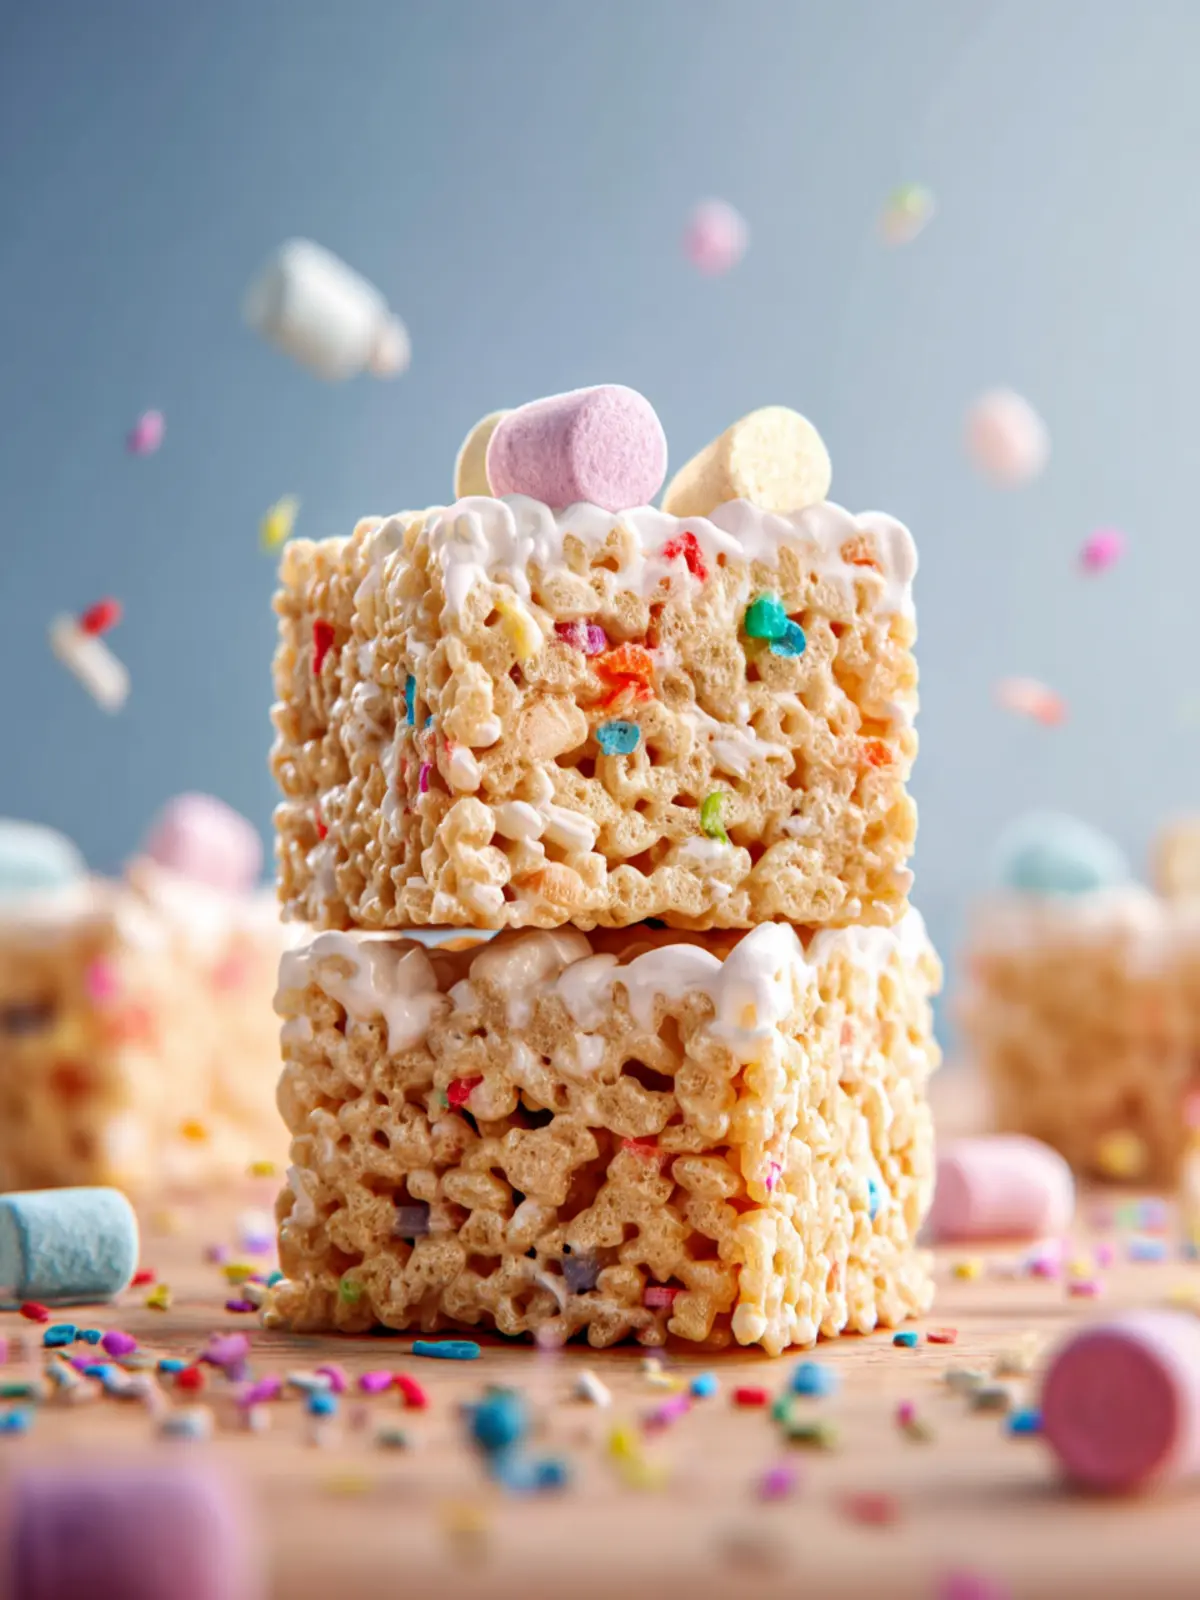
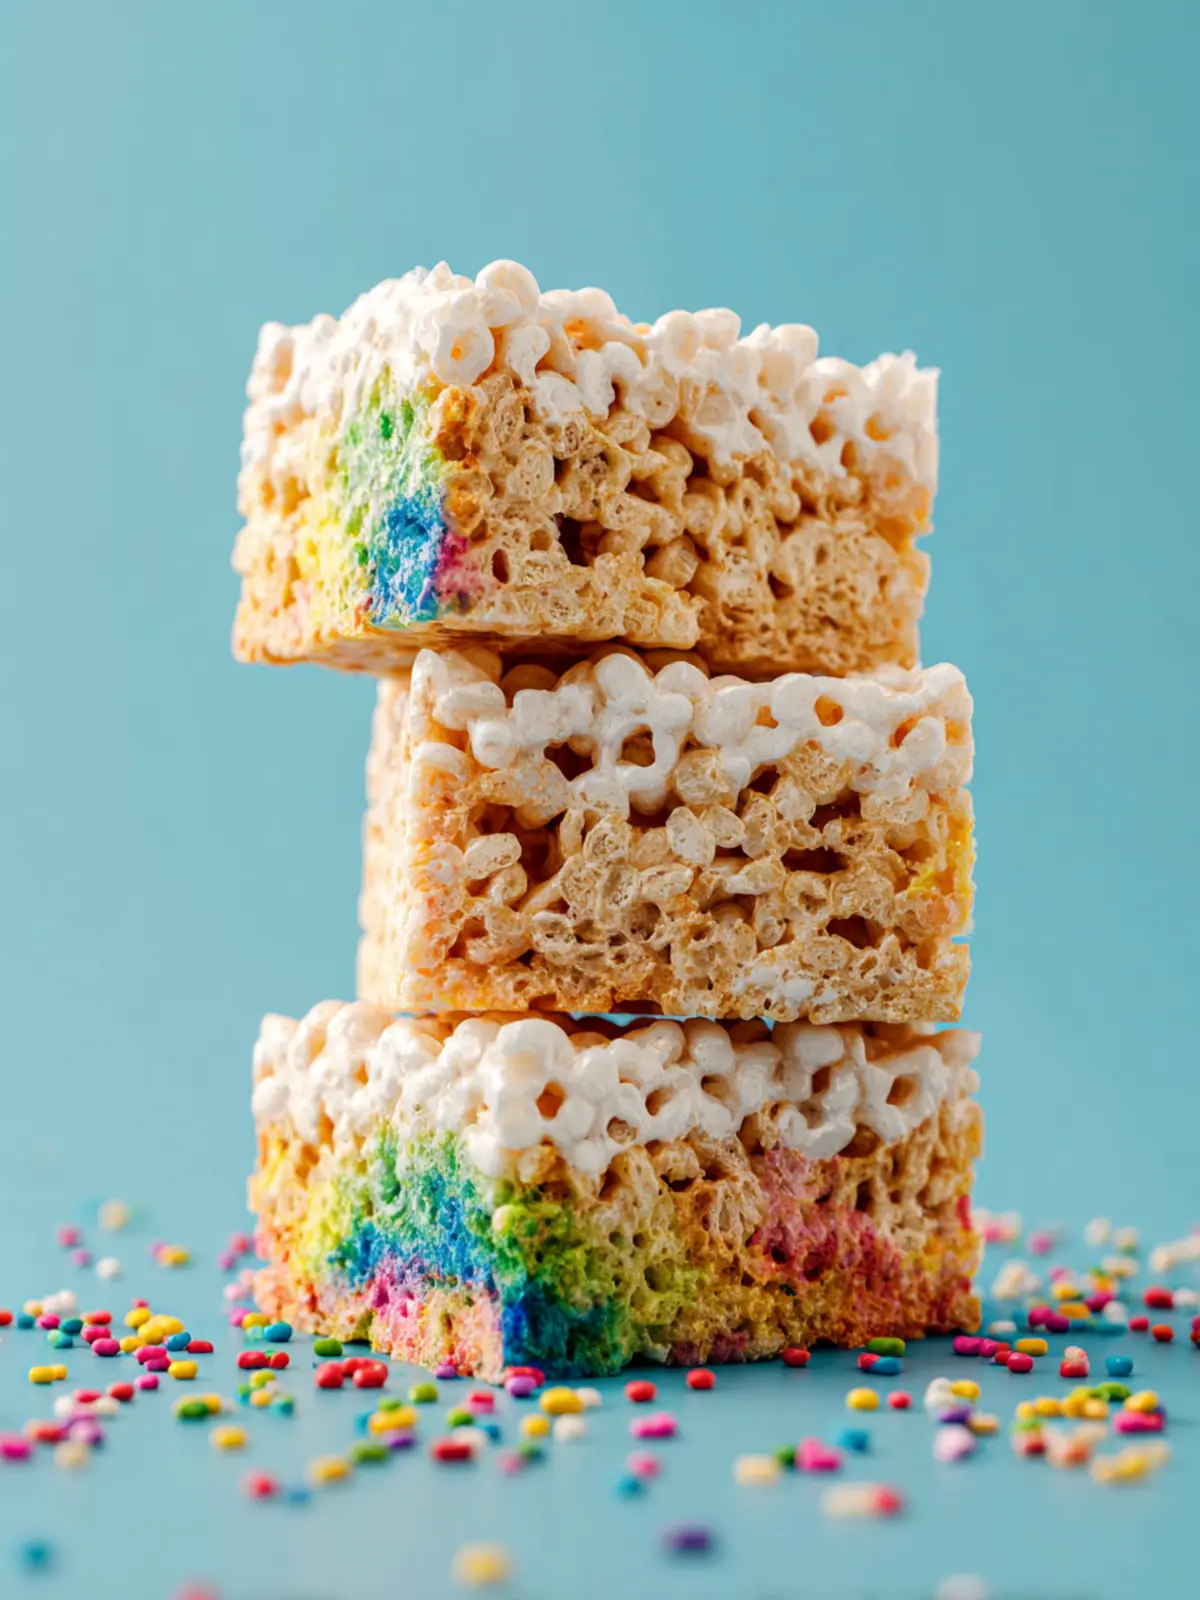
Variations of Rice Krispie Treats Recipe
Creating a delightful Rice Krispie treats recipe doesn’t just stop at the classic version; it’s an adventurous journey into flavors! Whether you’re looking to put a spin on the traditional treats or want to surprise your taste buds, these simple variations will add a spark to your recipe repertoire.
Spice things up!
-
Chocolate Drizzle: Who doesn’t love chocolate? Melt some chocolate chips and drizzle it over your cooled Rice Krispie treats. For an extra touch, sprinkle a pinch of sea salt for a sweet and salty contrast.
-
Peanut Butter Bliss: Add creamy peanut butter to the melted marshmallow mixture for a nutty flavor. You can even mix in some chocolate chips or chopped nuts to amplify the flavor!
-
Coconut Crunch: Mix unsweetened shredded coconut into the Rice Krispie mixture before pressing them into the pan. This gives a tropical twist that’s sure to be a hit.
-
M&M Surprise: Fold in colorful M&Ms before packing your treats into the pan. Not only does this add a vibrant look, but it also introduces bursts of chocolate that make each bite a delightful surprise.
Each of these variations takes a classic Rice Krispie treats recipe and elevates it to something extraordinary, inviting both nostalgia and excitement to your kitchen! Enjoy experimenting with these options!
Cooking Tips and Notes for Rice Krispie Treats Recipe
Creating those iconic Rice Krispie treats can truly feel like a delightful adventure in the kitchen. With just three main ingredients, these treats might appear simple, but there’s a bit of finesse to elevate them from delicious to utterly irresistible.
More than just melting marshmallows!
The heart of a successful rice krispie treats recipe lies in the marshmallows. Here’s how to ensure they shine:
-
Choose the right marshmallows: For best results, opt for fresh, soft marshmallows. They melt more smoothly, creating that desired gooey texture. If they’ve been sitting in your pantry for a while, you might want to pick up a new bag.
-
Quality butter matters: Use unsalted butter for the perfect balance. It enhances the sweetness of marshmallows without overpowering them.
-
Don’t skimp on stirring: After melting the marshmallows, stir in the Rice Krispies quickly but gently. A rubber spatula works wonders here, ensuring an even coating.
-
Add a twist: Consider folding in extras like chocolate chips, sprinkles, or even a hint of vanilla extract to give your treats a unique flair. The options are limitless!
-
Patience while cooling: Allow the treats to cool completely before cutting them to ensure clean edges and that satisfying crunch.
With these simple tips, your Rice Krispie treats will not only be a breeze to make but also a delightful addition to any gathering or a sweet treat for yourself!

Serving Suggestions for Rice Krispie Treats Recipe
Creating the perfect Rice Krispie Treats recipe is just the beginning of your delicious adventure! These chewy, marshmallowy delights are a fantastic addition to any gathering, whether it’s a casual brunch or a festive holiday party.
Great for Gatherings
- Snack Table Essential: Cut your treats into fun shapes with cookie cutters for an added touch that guests will love. The simple ingredients appeal to all ages, making them a universally enjoyed snack.
- Dessert Bar: Consider adding a DIY dessert bar where guests can customize their own Rice Krispie treats with toppings like chocolate drizzle, sprinkles, or even a sprinkle of sea salt for a sweet and salty twist.
- Picnic Perfect: Pack them for outdoor gatherings! Their sturdy structure makes them perfect for travel, and they won’t melt under the sun like some desserts.
By incorporating these serving ideas, your Rice Krispie Treats can elevate any occasion, creating sweet memories with every bite.
Time Breakdown for Rice Krispie Treats Recipe
When diving into the delicious world of Rice Krispie treats, knowing how to manage your time can significantly enhance your experience. Creating these sweet, crispy squares becomes a delightful activity when you break down the process.
Preparation time
Getting started with this Rice Krispie treats recipe takes about 10 minutes. In this time, you’ll gather your ingredients, melt the butter and marshmallows, and combine everything together.
Cooling time
After mixing, patience is key. Allow the treats to cool for at least 30 minutes. This step is crucial for achieving the perfect texture.
Total time
Overall, you’re looking at around 40 minutes from start to finish. Not too bad for a crowd-pleaser that everyone loves! Enjoy the magic that comes from such a simple process.
Nutritional Facts for Rice Krispie Treats Recipe
When indulging in a classic Rice Krispie Treats recipe, it’s essential to be aware of its nutritional aspects. These delightful treats, while simple to prepare, do come with some considerations.
Calories
A single serving of Rice Krispie Treats typically contains around 90 calories. This makes them a sweet snack but should be enjoyed in moderation for those keeping an eye on their calorie intake.
Fat
Each treat has about 2 grams of fat, primarily from the butter used in the recipe. This amount is relatively low, allowing for a guilt-free indulgence.
Carbohydrates
With approximately 15 grams of carbohydrates per serving, these treats provide a quick sugar boost. The majority of carbs come from the marshmallows and Rice Krispies, making them a fun, albeit sugary, option for a snack or dessert.
FAQ about Rice Krispie Treats Recipe
When it comes to crafting the perfect Rice Krispie Treats recipe, it’s only natural to have some questions along the way. Here are some of the most frequently asked questions to help you on your sweet adventure.
What can I use instead of Rice Krispies?
If you’re feeling adventurous or simply out of Rice Krispies, don’t fret! A few alternative cereals can work just as well:
- Crisped Rice Cereal: This is a direct substitute and will give you similar texture and flavor.
- Cornflakes: They add a nice crunch and a bit of a different flavor profile.
- Puffed Rice: If you want something lighter and airier, this is a great option.
Choose based on what you have at home; the treat still promises to be delicious and fun!
How do I store Rice Krispie Treats?
To keep your Rice Krispie Treats fresh and chewy, follow these storage tips:
- Airtight Container: Store them in an airtight container at room temperature. If they’re properly sealed, they can last up to a week!
- Avoid Refrigeration: Storing them in the fridge can make them hard and lose their chewy texture. If necessary, you can freeze them for up to three months; just be sure to use parchment paper to separate layers if you stack them.
Can I make them gluten-free?
Absolutely! To create a gluten-free version of your favorite Rice Krispie Treats recipe, simply:
- Use Gluten-Free Rice Cereal: Many brands now offer gluten-free varieties of crispy rice cereal.
- Check Other Ingredients: Make sure to use gluten-free butter and marshmallows, as some brands may contain gluten-containing additives.
These swaps ensure that everyone can enjoy the treat without worry, making your gatherings all the more inclusive!
Conclusion on Rice Krispie Treats Recipe
A Sweet Reminder of Home
Making Rice Krispie treats is more than just whipping up a snack; it’s about reliving childhood memories. Remember those times when you helped in the kitchen, pouring marshmallows and stirring in the crunchy cereal? This rice krispie treats recipe encapsulates that joyful spirit, effortlessly bringing friends and family together. Each gooey square feels like a warm hug, reminding us of laughter-filled gatherings. Now that you have this delightful recipe, it’s time to create your own sweet memories. Enjoy every chewy bite, share it with loved ones, and rejoice in that comforting taste of nostalgia that never grows old.
Print
Rice Krispies Treats with White Chocolate
- Total Time: 25 minutes
- Yield: 12 servings 1x
- Diet: Vegetarian
Description
Delicious and easy-to-make Rice Krispies Treats topped with white chocolate and sprinkles.
Ingredients
Scale
- 5 tablespoons unsalted butter
- 1 (16-ounce) bag miniature marshmallows (divided)
- 6 cups Rice Krispies cereal (or other crispy rice cereal)
- 1/4 teaspoon salt
- 1 teaspoon vanilla extract
- 1/3 cup white chocolate chips (or use milk, semi-sweet, or dark chocolate)
- 1/4 teaspoon vegetable oil
- Sprinkles (optional)
Instructions
- Line a 9×9-inch pan with parchment paper (or foil) with an overhang, and lightly spray with cooking spray. Set aside.
- In a very large pot, melt the butter over medium-low heat, stirring occasionally. Once butter is melted, reduce heat to low. Add 8 cups (340g) of the mini marshmallows. Stir constantly until marshmallows are just melted.
- Remove from heat and stir in salt, vanilla extract, and cereal. Stir until the cereal is well coated. Once mixed in, add remaining 2-1/2 cups of marshmallows. Stir until everything is well incorporated.
- Pour the mixture into the prepared pan. Lightly spritz your hands with cooking spray and gently press the mixture into the pan. Avoid pressing too hard to keep the treats soft and chewy. Let cool for about 30 minutes.
- Optional White Chocolate Topping: While the treats cool, add white chocolate and vegetable oil to a microwave-safe bowl. Microwave in 15-second bursts, stirring between each burst until chocolate is melted and smooth. Transfer melted chocolate to a resealable plastic bag, cut off the tip, and drizzle evenly over the bars. Immediately add sprinkles and let chocolate harden at room temperature.
- Use the parchment overhang to lift the bars out of the pan. For easier cutting, run a sharp knife under hot water, dry it, and slice the bars. These treats are best enjoyed the same day.
Notes
- Store any leftovers in an airtight container to keep them fresh.
- Prep Time: 10 minutes
- Cook Time: 15 minutes
- Category: Dessert
- Method: Stovetop
- Cuisine: American
Nutrition
- Serving Size: 1 bar
- Calories: 150
- Sugar: 10g
- Sodium: 50mg
- Fat: 6g
- Saturated Fat: 3g
- Unsaturated Fat: 2g
- Trans Fat: 0g
- Carbohydrates: 22g
- Fiber: 0g
- Protein: 1g
- Cholesterol: 15mg